Melton Hunt Club Ride 2025 – Course Preview

This year the Melton Hunt Club Ride will be hosted by the Cottesmore in their famous Tuesday country.

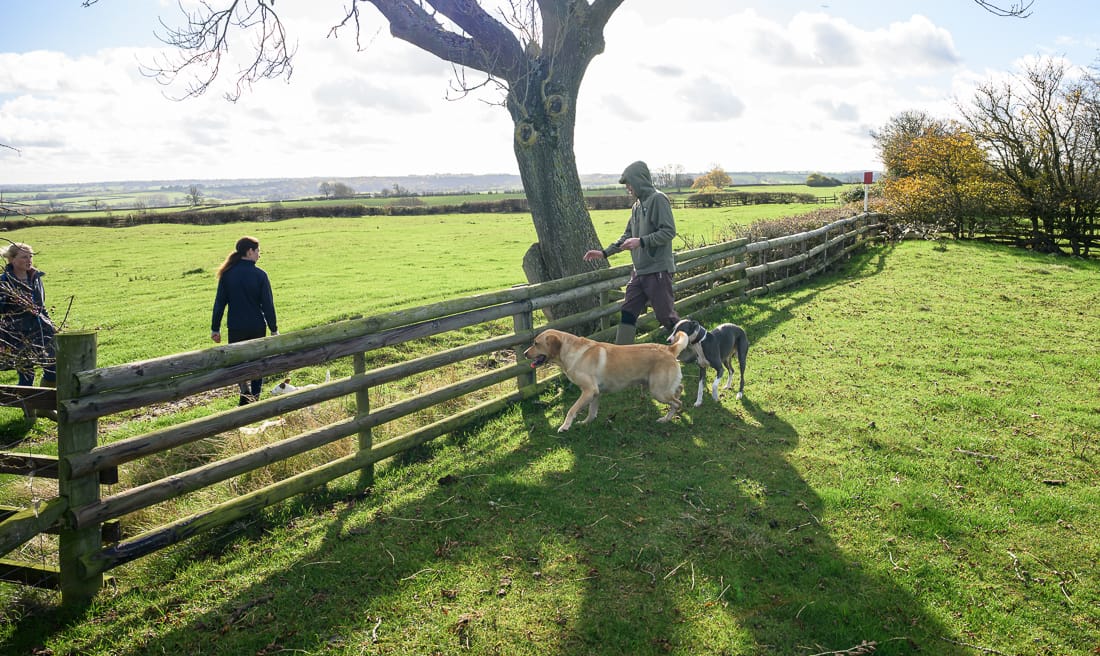
Course walkers are welcome to park their vehicles near the radio mast near Glebe Farm on the Cold Overton which connects Oakham with Knossington.

On the day of the race all vehicles will be parked near the finish by kind permission of the Jarrom family. The drive to their farm is on the Braunston road at ///running.joys.student.

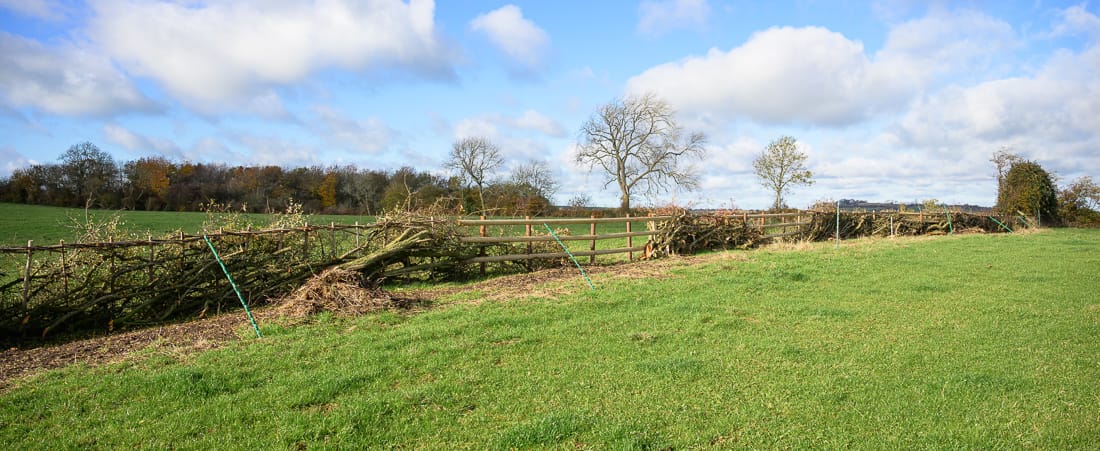
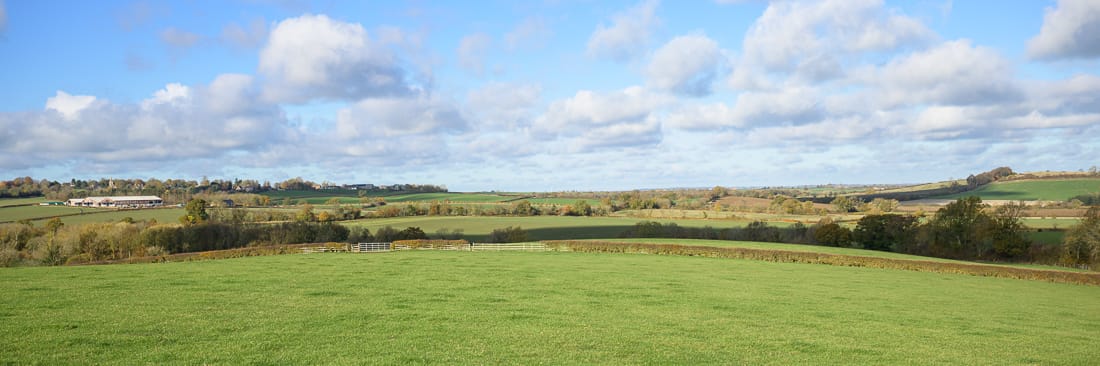
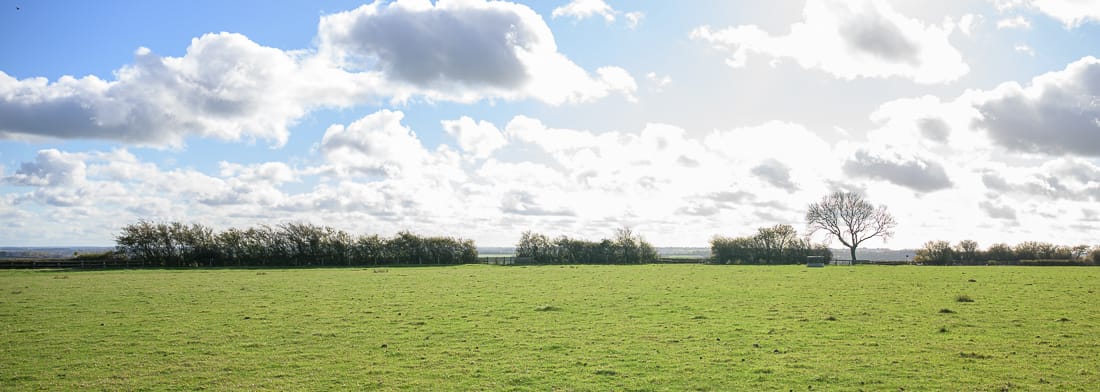
The course starts near Manor Lane at the back on Barleythorpe: W3W ///signature.unclaimed.piglet and proceeds South West across the first three fences.

Fence 1 from the landing side with the starting posts visible in the background.
Fence 1, take off side.
Fence 2 approach
Fence 2 approach, showing first red marker.
Fence 3 approach, direct line straight ahead.
The second red marker on the righ-hand turn to fence 4.
Fence 5. Fence 6 is on a line with the dark trees below the farm on the left.
Fence 6 marks a left-hand turn.
Fence 7 with a white marker on the tree to the left. Fence 8 is on the sky line just to the right of the marker.
Fence 7 approach with a white marker on the tree to the left. Fence 8 is on the sky line just to the right of the marker.
Fence 7 from landing side with marker on right.
Fence 8 approach
Fence 8 approach
Fence 8 Take-off side.
Fence 8 landing side.

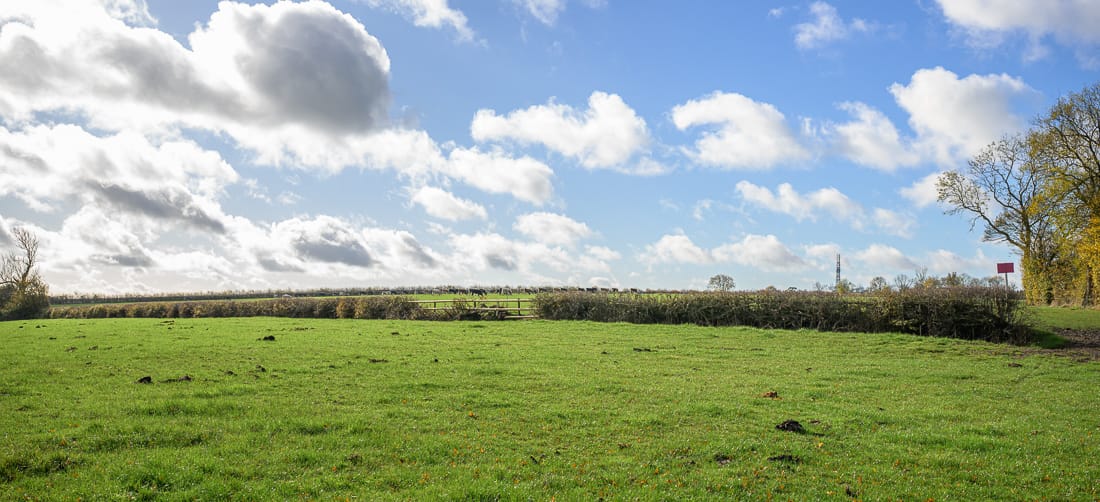
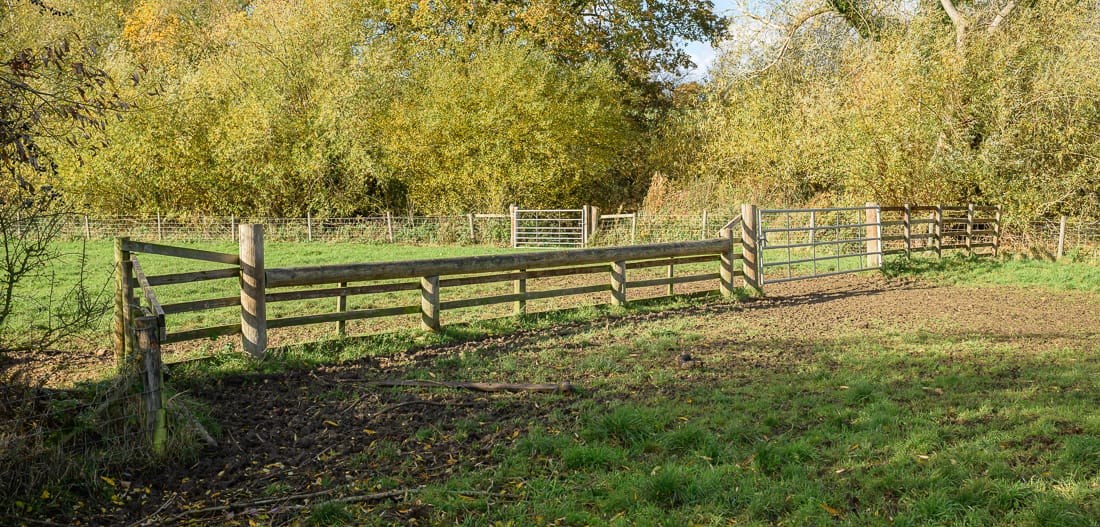
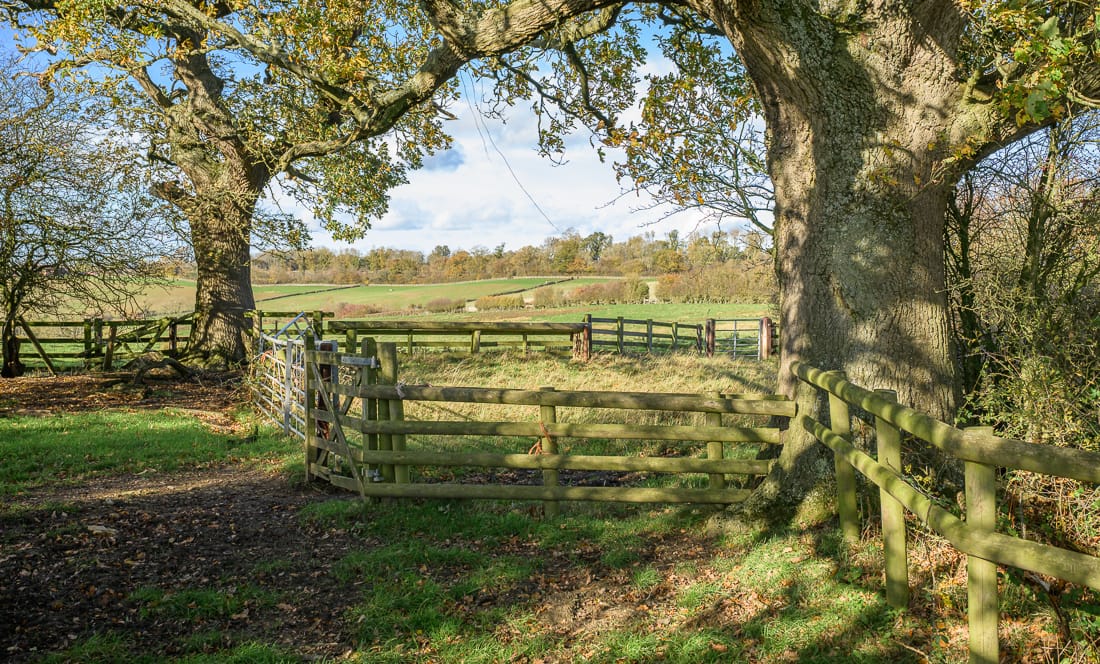
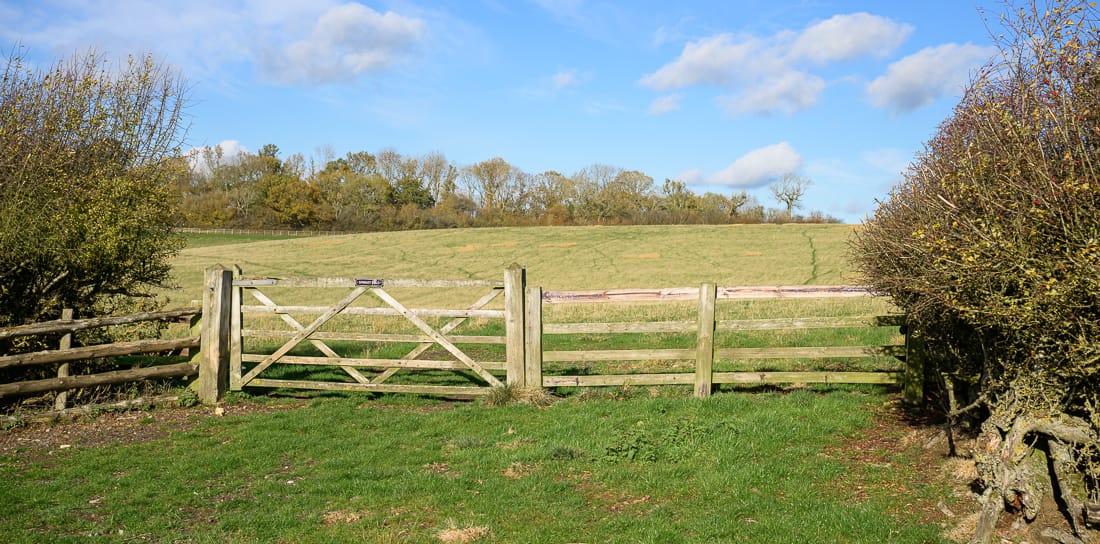
After fence 8 the course heads uphill to a pair of OPEN gates (9) and crosses Cold Overton Road.

Fence 10 landing side.
There are lots of places to cross Fence line 11. The marker is on the right of the big tree and would be the most direct line.
Close-up view of the right hand end of Fence line 11, showing marker and route to Fence 12.
Fence 12 approach.
Fence 12 landing.
Fence 13 approach.
Fence 13 approach.
Fence 13 landing.
Fence 14, showing white marker (not shown on at least one of the maps)
Fence 15 approach.
Fence 15 approach.
Fence 16 approach.

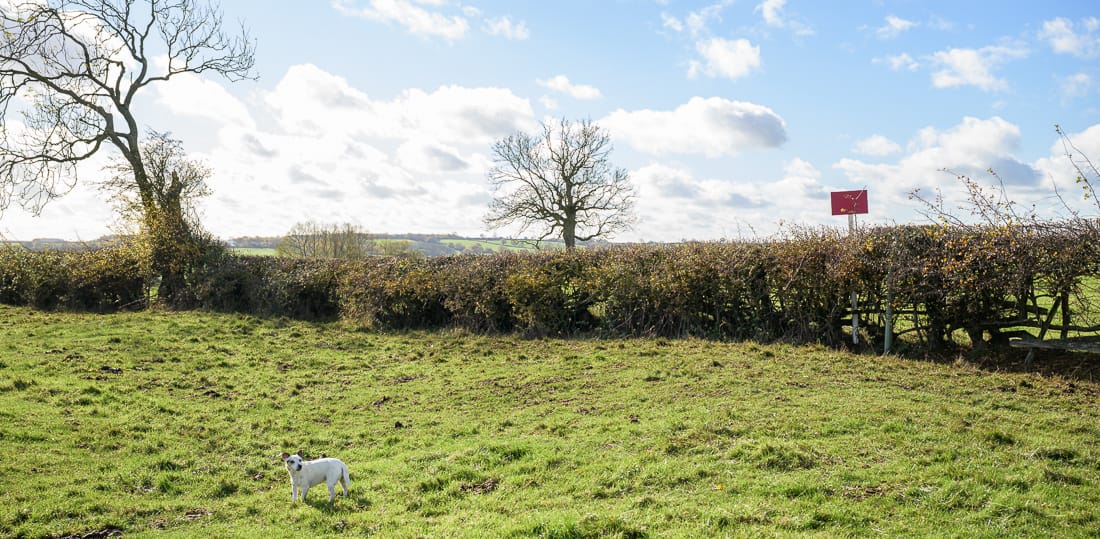
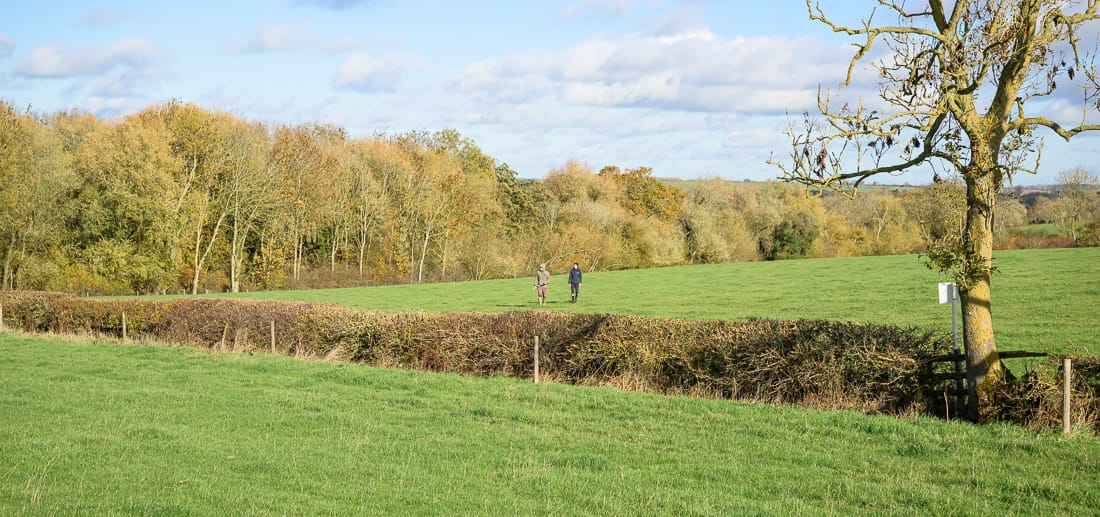
After Fence 16 the course turns back on itself and Fence 17 has a red marker.

Fence 17.
The Fence 18 land crossing from the landing side.
Fence 19 approach.
Fence 19 landing.
Fence 19 landing.

Fences 20 and 21, crossing the bridleway.
A view towards the finish from Fence 21 shows the options. Crossing the hedge line to the right of centre introduces another jumping effort. Left of centre shown below.
Fence 22 option.
Fence 22 option.
Fence 22 option.
Fence 22 option.
Fence 22 option.
Fence 22 option.
Fence 23 and final white marker.
Fence 24 and finish.

Leave the first comment